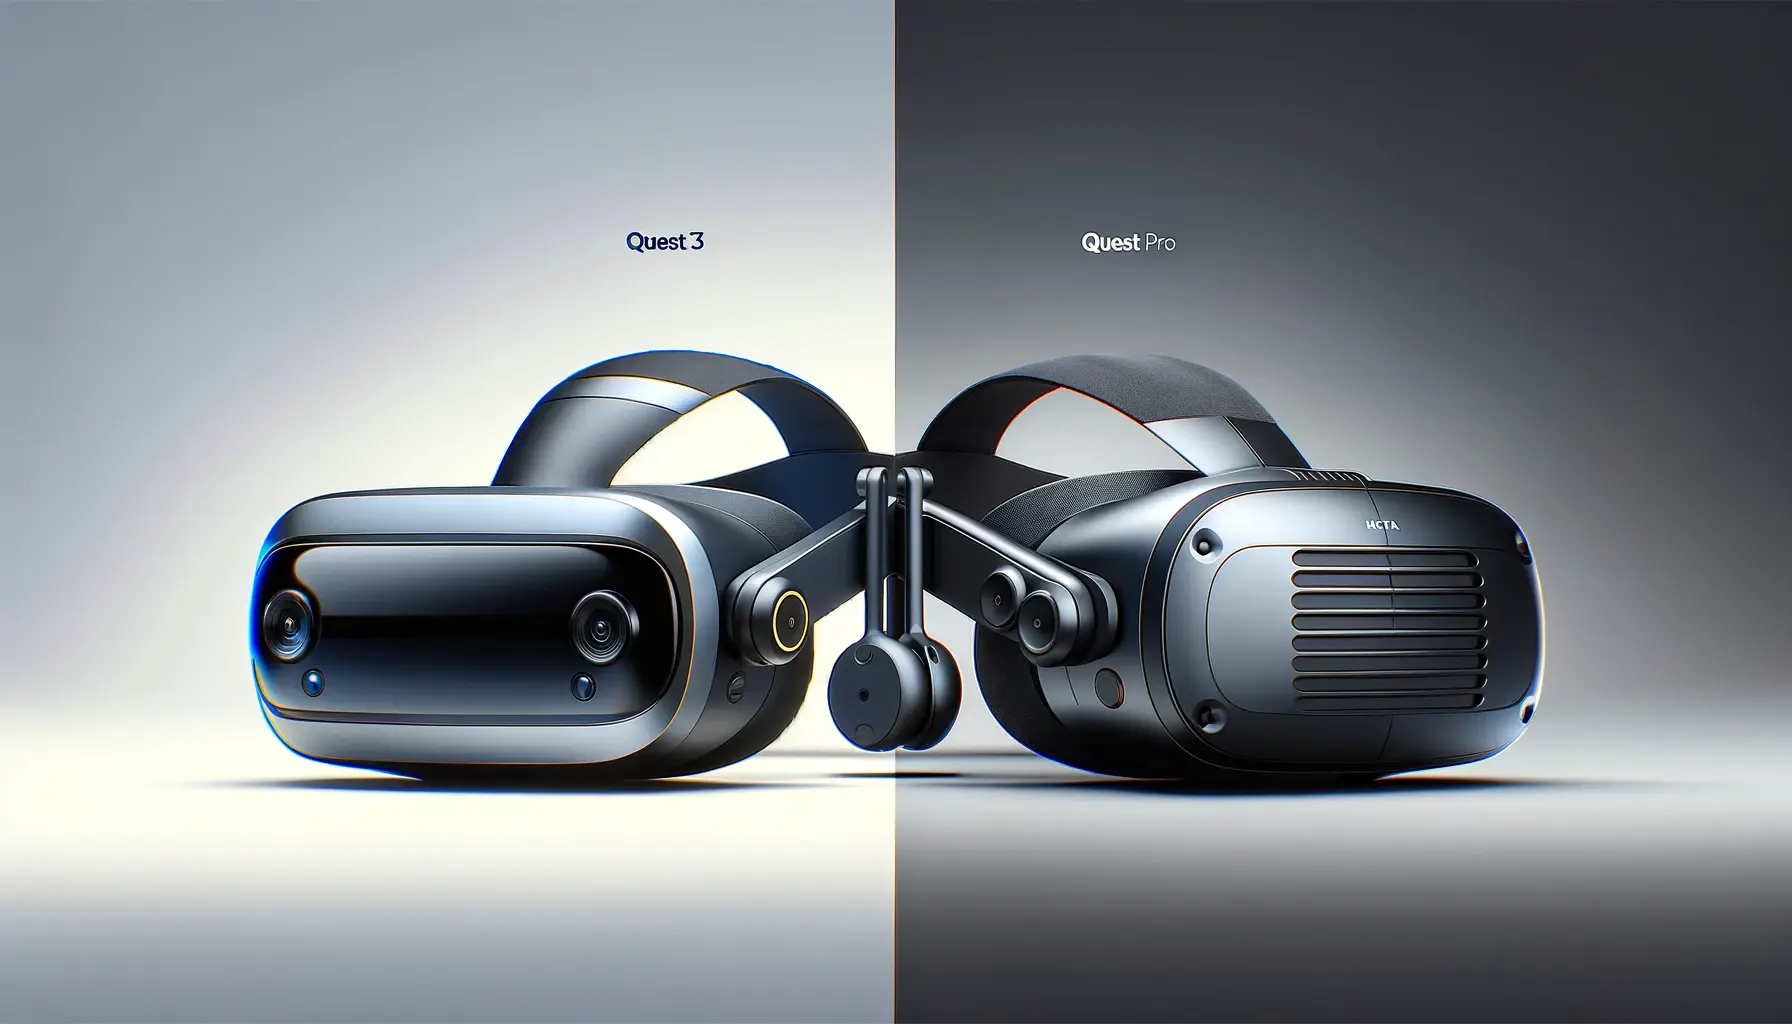
Welcome to the exciting world of virtual reality with the Quest 3, the latest iteration in the Meta Quest series.
This device promises an immersive VR experience with its advanced technology and user-friendly design.
Whether you’re a seasoned VR enthusiast or new to the scene, setting up your Quest 3 is the first step towards exploring virtual worlds, playing games, and connecting with others in ways you’ve never imagined.
The Quest 3 stands out for its standalone capability, meaning it doesn’t require a PC or any external sensors to deliver a full VR experience.
This ease of use, combined with the Quest 3’s powerful performance and vast library of content, makes it a significant leap forward in VR technology.
In this article, we’ll guide you through the setup process, ensuring you can start your VR journey smoothly and efficiently.
- Unboxing and Initial Setup
- Connecting to Wi-Fi and Account Setup
- Personalizing Your Virtual Space
- Exploring Social Features and Multiplayer Games
- Enhancing Your Experience with Accessories
- Maintaining and Caring for Your Quest 3
- Exploring Advanced Settings and Features
- Embracing the Future with Quest 3
- Quest 3 Setup FAQ
Unboxing and Initial Setup
Opening the Quest 3 box is the first step into a larger world of virtual reality.
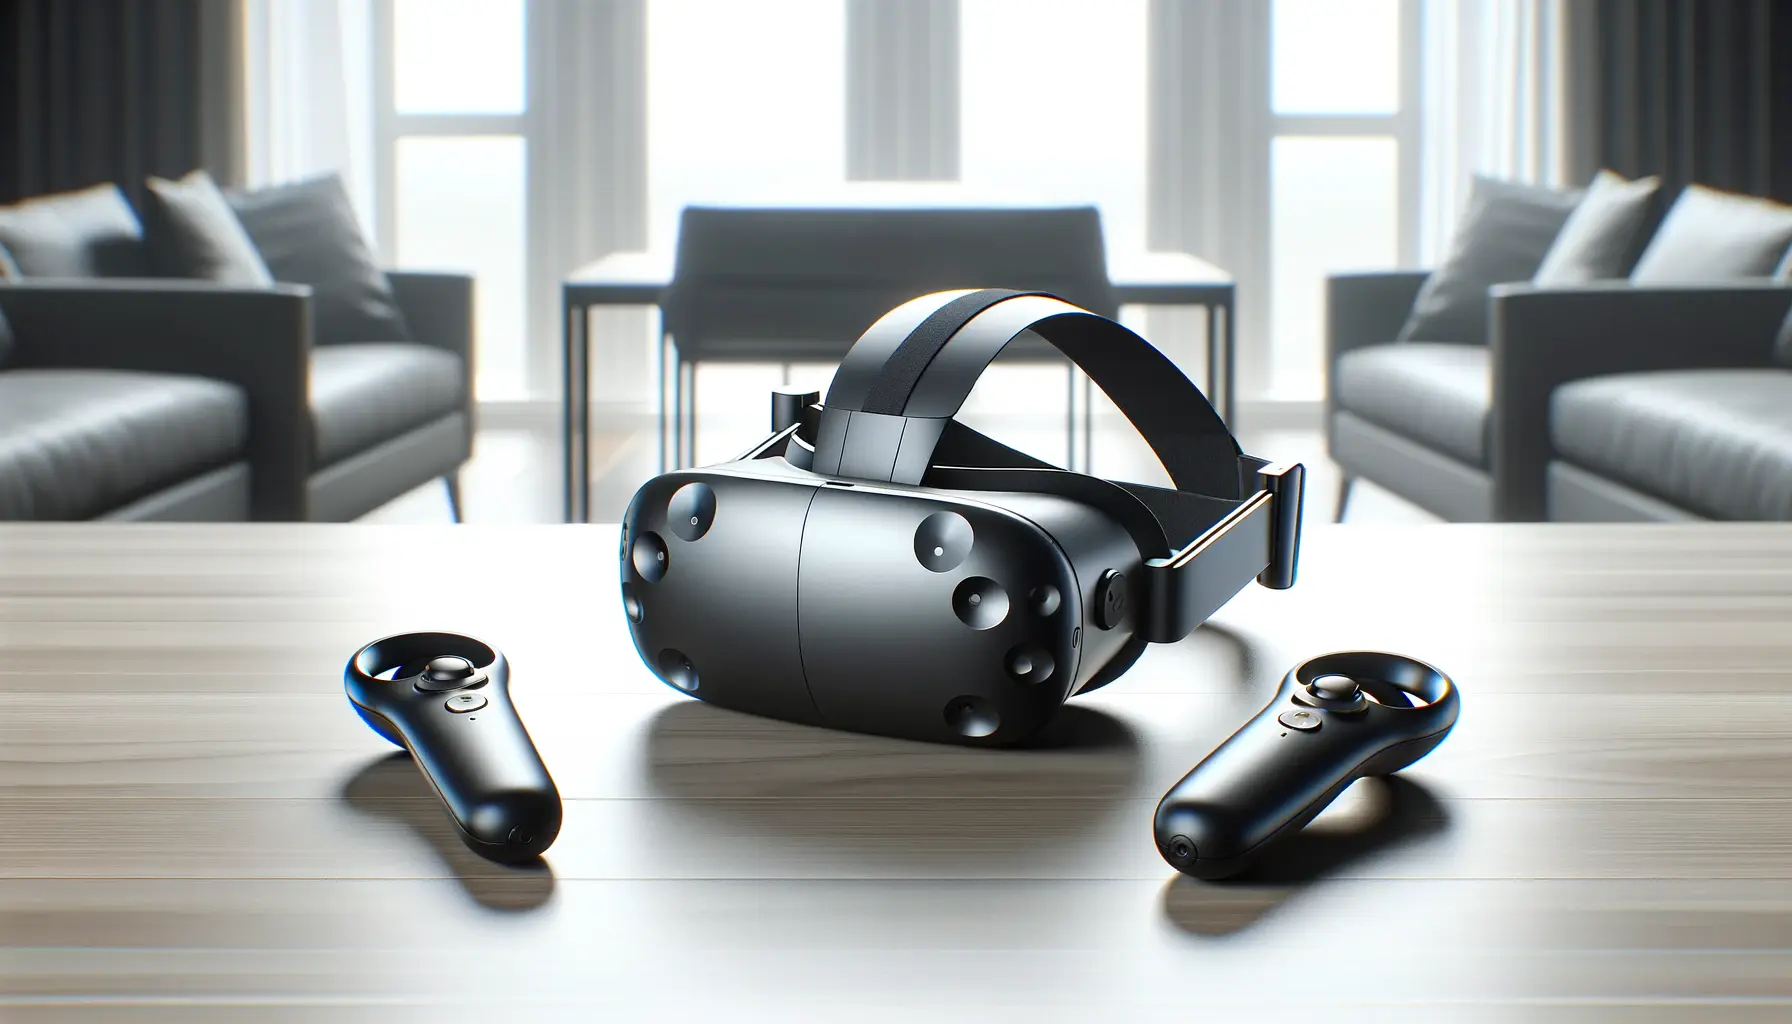
Inside, you’ll find the Quest 3 headset, two Touch controllers, a charging cable, and a power adapter.
The first thing you’ll want to do is charge your headset and controllers.
While they come partially charged, ensuring they’re fully powered will provide the best initial experience.
It’s also a good time to install the Meta Quest mobile app on your smartphone, which will be instrumental in the setup process.
Once charged, power on your headset and follow the on-screen instructions to pair it with the Meta Quest app on your phone.
This pairing process is straightforward and allows you to manage your device settings, download apps, and access your VR content library.
The app also serves as a bridge between your VR and real-world identities, enabling social features and content sharing.
Adjusting Your Headset
Comfort is key in VR, and the Quest 3 is designed with various features to ensure a snug, comfortable fit.
Start by adjusting the straps on the headset.
The Quest 3 features an adjustable top strap and side straps, allowing you to find the perfect balance between a secure fit and comfort.
It’s important to adjust these straps so the headset sits comfortably on your face without pressing too hard against your skin.
Next, adjust the interpupillary distance (IPD) to align with your eyes.
The Quest 3 offers a mechanical adjustment for this, ensuring that the visuals are sharp and that you experience the virtual world in the most immersive way possible.
Finding the right IPD setting is crucial for avoiding eye strain and ensuring the clearest image quality.
Remember, the key to a great VR experience with Quest 3 lies in taking the time to properly set up and adjust your device to fit your personal comfort and visual preferences.
Connecting to Wi-Fi and Account Setup
After adjusting your headset for comfort, the next step in setting up your Quest 3 involves connecting it to Wi-Fi and setting up your Meta account.
This connection is essential for downloading games, accessing online content, and updating your headset to the latest firmware, which enhances its performance and functionality.
To connect your Quest 3 to Wi-Fi, turn on the headset and select your network from the list of available connections.
Enter your Wi-Fi password using the virtual keyboard displayed in the headset.
A successful connection ensures your Quest 3 can communicate with the Meta servers for updates and content downloads.
Meta Account Creation and Management
Creating a Meta account is a critical step in accessing the full range of Quest 3 features, including the vast library of VR content.
If you’re new to Meta’s VR ecosystem, you’ll need to create an account through the Meta Quest mobile app.
Here’s a simple guide:
- Download the Meta Quest App: Available on both Android and iOS, this app is your gateway to managing your Quest 3.
- Create or Log In: Open the app and sign up for a new account or log in if you already have one. You can use your Facebook or Instagram credentials for a quick setup.
- Pair Your Headset: Follow the in-app instructions to pair your Quest 3 with your Meta account. This step is crucial for syncing your device with your account.
Once your account is set up and linked to your Quest 3, you can start exploring the Meta Quest Store, where you’ll find a wide range of apps, games, and experiences tailored to your interests.
Downloading Essential Apps and Games
With your Quest 3 connected to Wi-Fi and your Meta account ready, diving into the world of VR content is your next adventure.
The Meta Quest Store offers a curated selection of apps and games, ranging from immersive experiences and fitness apps to multiplayer games and educational content.
Here’s how to get started:
- Browse the Store: Use the Meta Quest app or the store interface within the headset to explore available content.
- Select Your Favorites: Look for apps and games that interest you. You can read reviews, watch trailers, and learn about the developers before making a purchase or download.
- Install and Enjoy: Once you’ve made your selections, download and install them directly to your Quest 3. After installation, you can access your new content from the library section of the home menu.
Exploring the Meta Quest Store is like opening a treasure chest of virtual experiences. Take your time to discover the wide variety of content that can educate, entertain, and inspire you in the virtual realm.
Personalizing Your Virtual Space
Personalization is a key aspect of making your Quest 3 experience truly your own.
From setting up your virtual environment to customizing your avatar, these steps add a personal touch to your VR journey, making it more engaging and enjoyable.
Choosing Your Virtual Environment
The Quest 3 allows you to select a virtual environment that serves as your home base in VR.
This environment is what you’ll see when you first put on your headset or when you’re navigating through the menus.
Here’s how to personalize this space:
- Access the Settings Menu: Use your Touch controllers to navigate to the settings section within the Quest 3 interface.
- Select Virtual Environments: Browse through the available options and preview them in real-time to see which one feels right for you.
- Set Your Preference: Once you’ve made your choice, confirm your selection to make it your default virtual environment.
Changing your virtual environment can significantly impact your mood and overall VR experience, providing a refreshing backdrop for your adventures.
Creating and Customizing Your Avatar
Your avatar is your virtual representation in the Meta ecosystem, appearing in games, social experiences, and more.
Customizing your avatar allows you to express your personality and style in the virtual world.
Follow these steps to create and personalize your avatar:
- Open the Avatar Editor: In the Meta Quest app or through the headset, find the avatar editor feature.
- Choose Your Features: Select from a variety of hairstyles, facial features, clothing, and accessories to create an avatar that reflects your identity or desired appearance.
- Save and Use: Once you’re satisfied with your avatar, save your changes. Your avatar will now represent you in VR social spaces and compatible games.
Regularly updating your avatar’s appearance keeps your virtual identity fresh and in line with your evolving tastes.
Remember, the virtual environment and avatar you choose are not permanent and can be changed at any time to suit your current preferences or mood.
Exploring Social Features and Multiplayer Games
The Quest 3 is not just a gateway to immersive experiences and games; it’s also a platform for socializing and connecting with friends and other players from around the world.
The device offers a variety of social features and multiplayer games that make it easy to share experiences, compete, and collaborate in virtual spaces.
Connecting with Friends
Adding friends on your Quest 3 allows you to join each other in games, share experiences, and communicate within VR.
Here’s how to build your social network:
- Use the Meta Quest App: The app makes it easy to search for and add friends by their username or real name, if they’ve shared it with you.
- Send a Friend Request: Once you’ve found a friend, send them a request. When they accept, you’ll be connected and ready to join each other in VR.
- Join or Create Parties: Use the party feature to chat with friends, plan game sessions, or explore apps together.
Staying connected with friends enhances the VR experience, making it more enjoyable and social.
Multiplayer Gaming
Multiplayer games on the Quest 3 range from competitive shooters to cooperative puzzle games, offering something for every type of gamer.
Here’s how to dive into multiplayer action:
- Explore the Game Library: The Meta Quest Store features a wide selection of multiplayer games. Look for titles that support online play.
- Invite Friends or Join a Game: Many games offer the option to invite your Quest friends to join you or to match with other players online.
- Communicate and Strategize: Use the Quest 3’s built-in voice chat or in-game communication tools to coordinate with your team or chat with opponents.
Multiplayer games on the Quest 3 are a fantastic way to experience the thrill of competition and the joy of teamwork in a fully immersive environment.
The Quest 3’s social features and multiplayer capabilities are central to its appeal, offering endless opportunities for interaction, competition, and collaboration in the virtual world.
Enhancing Your Experience with Accessories
The Quest 3 experience can be significantly enhanced with the right accessories.
From improving comfort and gameplay to extending battery life, a range of official and third-party accessories are available to elevate your VR journey.
Comfort and Fit Accessories
Extended VR sessions require comfort, which can be achieved through various accessories designed to enhance the fit and feel of your Quest 3 headset:
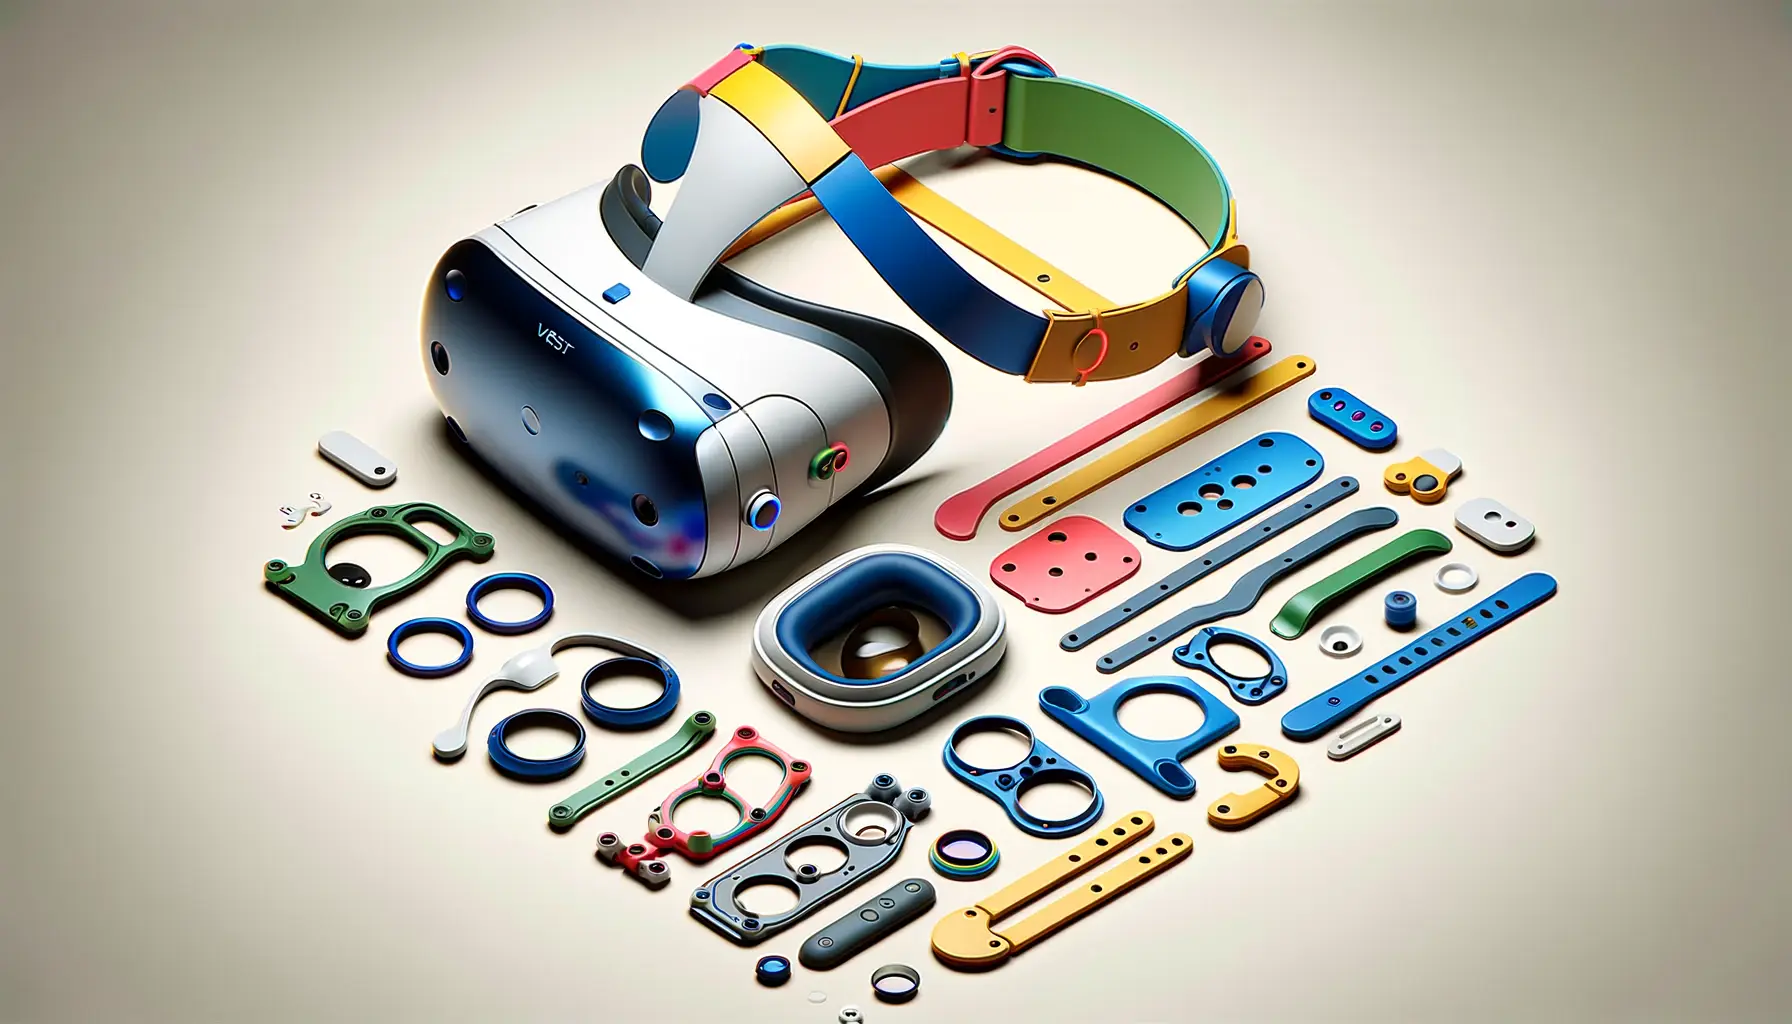
- Elite Strap: Offers additional support and adjustability for a more secure and comfortable fit, ideal for longer gaming sessions.
- Fit Pack: Includes additional facial interfaces and light blockers to accommodate different face shapes and improve comfort.
- Prescription Lens Inserts: For users who wear glasses, prescription lens inserts can be customized for the Quest 3, eliminating the need to wear glasses under the headset.
Investing in comfort accessories can transform your VR experience, making it more enjoyable and immersive.
Battery Life and Charging Solutions
To keep your Quest 3 powered up for longer play sessions, consider these battery and charging solutions:
- External Battery Pack: Attaches to the Quest 3 or your waistband, providing extra hours of playtime without the need for internal battery recharging.
- Charging Dock: Offers a convenient and organized way to charge your Quest 3 and Touch controllers, ensuring they’re always ready for your next VR adventure.
With the right charging solutions, you can minimize downtime and maximize your time in VR.
Audio Enhancements
Audio plays a crucial role in the immersion of VR experiences.
Here are some accessories to improve audio quality:
- Official Quest 3 Earphones: Designed specifically for the Quest 3, these earphones offer high-quality sound directly into your ears, enhancing audio immersion.
- Third-Party Headphones: Many high-quality headphones are compatible with the Quest 3, providing superior sound quality and noise isolation.
Enhancing the audio experience can make VR feel even more real, drawing you deeper into the virtual worlds you explore.
Accessories not only improve the comfort and usability of your Quest 3 but also enhance the overall immersion and enjoyment of your VR experiences.
Maintaining and Caring for Your Quest 3
To ensure your Quest 3 remains in top condition, regular maintenance and care are essential.
Proper handling and cleaning can extend the life of your device, keeping it ready for your VR adventures at all times.
Cleaning Your Headset and Controllers
Keeping your Quest 3 clean is crucial for hygiene and performance.
Here’s how to properly clean your headset and controllers:
- Wipe the Exterior: Use a dry microfiber cloth to gently wipe the exterior of your headset and controllers, removing dust and fingerprints.
- Clean the Lenses: Apply a small amount of lens cleaner to a microfiber cloth and gently clean the lenses in a circular motion. Avoid using liquid cleaners directly on the lenses.
- Disinfect the Touch Points: For the areas you frequently touch, such as the controller buttons and headset straps, use non-abrasive, alcohol-free wipes to disinfect.
Regular cleaning not only maintains the appearance of your Quest 3 but also ensures the best visual clarity and hygiene during use.
Storage and Handling
Proper storage and handling of your Quest 3 can prevent damage and wear over time.
Consider these tips for storing and handling your device:
- Avoid Direct Sunlight: Store your Quest 3 in a place where it’s not exposed to direct sunlight, which can damage the lenses and display.
- Use a Protective Case: When not in use, keep your Quest 3 in a protective case to shield it from dust and potential impacts.
- Handle with Care: Always grasp your Quest 3 by the straps or the main body of the headset. Avoid touching the lenses with your fingers to prevent smudges and scratches.
Proper storage and careful handling are key to preserving the functionality and appearance of your Quest 3.
Neglecting the care and maintenance of your Quest 3 can lead to decreased performance and enjoyment of your VR experiences.
Exploring Advanced Settings and Features
The Quest 3 is packed with advanced settings and features that allow users to tailor their VR experience to their preferences.
Exploring these can enhance your gameplay, increase comfort, and unlock new possibilities within the virtual world.
Adjusting Guardian Settings
The Guardian system is designed to keep you safe by defining your play area and alerting you if you move too close to its boundaries.
Customizing your Guardian settings can help optimize your play space for safety and freedom of movement:
- Adjusting Boundary Sensitivity: You can adjust how sensitive the Guardian system is to your proximity, making it more or less reactive to your movements.
- Customizing Boundary Colors: Personalize the appearance of your Guardian boundary with different colors to match your preference or improve visibility.
- Stationary or Roomscale: Choose between a stationary boundary for seated or standing experiences and a roomscale boundary for more active, physical games.
Properly setting up your Guardian ensures a safe and enjoyable VR experience, allowing you to move confidently within your virtual environment.
Performance Optimization
To get the most out of your Quest 3, optimizing its performance settings can enhance visual quality and gameplay smoothness.
Here are some ways to optimize your device:
- Adjusting Graphics Settings: Some games and apps allow you to adjust graphics settings, balancing visual fidelity with performance.
- Managing Storage: Regularly manage your device’s storage by uninstalling unused apps and content to free up space for optimal performance.
- Updating Regularly: Keep your Quest 3 updated with the latest software versions to benefit from performance improvements and new features.
Optimizing your Quest 3’s performance can significantly improve your overall VR experience, making games and apps run smoother and look better.
Exploring Developer Options
For those looking to dive deeper into customization, the Quest 3 offers developer options that unlock additional settings and capabilities:
- Enabling Developer Mode: Through the Meta Quest app, you can enable developer mode on your Quest 3, allowing you to access and install content not available on the Meta Quest Store.
- USB Debugging: Developer mode enables USB debugging, which allows for direct connections between your Quest 3 and a PC for development purposes or sideloading apps.
- Custom Home Environments: With developer access, you can create or install custom virtual home environments, further personalizing your VR space.
While developer options offer exciting possibilities for customization and exploration, they’re intended for advanced users familiar with VR development and sideloading.
The Quest 3’s advanced settings and features are a testament to its versatility and power as a VR platform, offering users the ability to customize their experience to their liking.
Embracing the Future with Quest 3
The journey through setting up and optimizing the Quest 3 underscores the device’s position at the forefront of virtual reality technology.
With its user-friendly setup, customizable features, and a vast array of content, the Quest 3 is more than just a gaming console; it’s a gateway to immersive experiences that were once the realm of science fiction.
The Quest 3 stands as a testament to how far virtual reality has come and a glimpse into its boundless future.
Maximizing Your Quest 3 Experience
From the initial unboxing to exploring advanced settings, every step taken with the Quest 3 is an opportunity to enhance your virtual reality experience.
The device’s design, which emphasizes comfort, immersion, and social connectivity, invites users to explore, play, and connect in ways that transcend traditional gaming and entertainment boundaries.
By taking advantage of the Quest 3’s features and accessories, users can tailor their VR journey to their personal preferences, ensuring every session is as enjoyable and comfortable as possible.
The Quest 3 Community and Beyond
The Quest 3 is more than a piece of hardware; it’s a portal to a thriving community of developers, gamers, and enthusiasts who are constantly pushing the boundaries of virtual reality.
As the platform continues to evolve, so too will the experiences it offers, fueled by the creativity and innovation of its user base.
The Quest 3’s ability to bring people together, whether through multiplayer games, social apps, or shared experiences, highlights the device’s role in shaping the future of social interaction and digital connectivity.
- The importance of regular maintenance and care to preserve the Quest 3’s performance and longevity.
- Exploring the vast library of content available on the Meta Quest Store, which caters to a wide range of interests and preferences.
- The potential of developer options and sideloading for users looking to explore beyond the official content offerings.
In conclusion, the Quest 3 is a powerful, versatile virtual reality system that offers something for everyone, from gamers and developers to educators and artists.
Its ease of setup, combined with the depth of customization and breadth of content, makes it an unparalleled tool for exploring the potential of VR.
As we continue to push the boundaries of what’s possible in virtual worlds, the Quest 3 will undoubtedly play a pivotal role in defining the future of virtual reality.
Quest 3 Setup FAQ
Embarking on your Quest 3 journey raises many questions. Here are answers to some frequently asked questions to help you navigate the setup process smoothly.
Plug the included USB-C cable into your Quest 3 and a power source. Charge until the LED indicator turns green, signaling a full charge.
No, a Meta account is required to access and download content, as well as to use social features on the Quest 3.
Adjust the side straps and top strap for a snug fit. Use the IPD adjustment to align the lenses with your eyes for clear visuals.
Use a dry optical lens microfiber cloth to gently wipe the lenses. Avoid liquids or abrasive materials that could damage the lenses.
Turn on your Quest 3, select Wi-Fi settings, choose your network, and enter the password using the virtual keyboard.
Yes, you can play PC VR games on Quest 3 using Oculus Link or Air Link, provided you have a compatible PC.
Yes, using an external battery pack or the Quest 3 Elite Strap with Battery can extend playtime significantly.
Enable developer mode through the Meta Quest mobile app, then access developer options in the headset’s settings menu.
